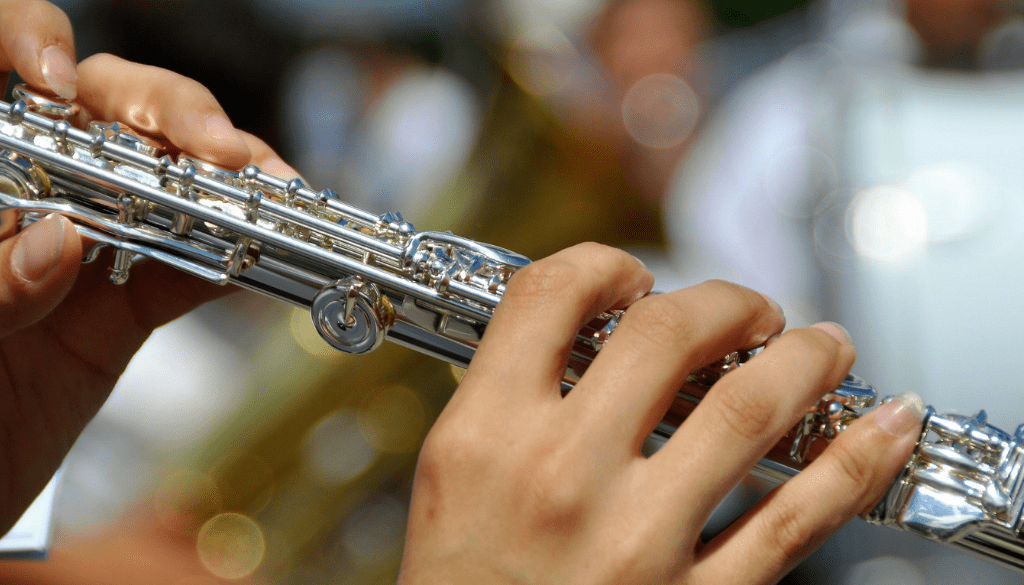
It seems difficult to hold the flute properly in your hands, because there are many things to remember. But do not worry, if you practice your fingertips and posture regularly, you can soon feel better about how to hold your instrument. By learning some basic tips, you will be able to more easily reach the keys of your fingers, breathe better and avoid medical complications.
Flutists may have different theories about how to hold a flute, so if a particular physical instruction does not work for you, you can eventually ask a flute teacher a question.
Mode of holding hands and fingers on the flute
Place your fingers relaxed and slightly bent. If you leave your hand along your body, you will notice the natural and calm arch of your hand. Try to keep this arc in your fingers while running and releasing the keys. Keeping your fingers straight will put pressure on your muscles and make your fingers tired.
Position each finger of the left hand on the flute keys
۲. Place your left fingers on the keys assigned to them. Remember that each of your fingers has only one permanent key, or in other words, there are keys on the flute that, when running, each of your fingers must always be on that particular key. Try to remember these keys.
Place your left thumb on the long, flat key at the bottom of the flute.
Left index finger: At the top of your flute, slide the first small key, which is separate from the main flute keys, and place your left index finger on the second key.
Place the middle finger of your left hand on the fourth key.
Place the ring finger of your left hand on the fifth key.
Place the little finger of your left hand on the next key, which is a small key protruding and curved, just like the key used in the logo of the flute training site: “Iran Flute”.
Each finger has its own key
If you move your fingers, return them to your corresponding key.
In performing each note, each finger must sit on the key of the same note corresponding to it, and the other keys of the other fingers must be released. That is, the other fingers are raised from the keys themselves.
Sometimes a different note may be played! It does not matter what happens! Just keep in mind that each of your fingers must always be moving on a key corresponding to it.
Position each finger of the right hand on the flute keys
Place your right fingers on the keys assigned to them. In the previous paragraph, you learned about the position of your left hand. Now at this point you can complete the position of your fingers by finding the main keys of your right hand on the flute.
Right thumb: You do not have a key for this finger! Place it on the bottom of your flute. Try to pull out the thumb of your right hand. That is, just try to keep it flat by pressing it on the bottom surface of the flute.
Three fingers of the right hand: Fortunately, pointing your three fingers of the right hand (index finger, middle finger, ring finger) is easy. On the body of your flute at the end, you will see three keys together. Place your index finger, middle finger, and ring finger on them, respectively.
Little finger of the right hand: Finally, place your little finger of the right hand on the key on the foot of the flute next to the previous three keys. This key is similar to the one on which the little finger of your left hand rested.
Hold the flute
Hold the flute only with your fingertips, not your whole hand. This means that once you have found all the key keys on each of your fingers, your fingertips should be the only thing holding your flute up.


